Ghost Brownies
Let the Halloween cooking…begin! I’ve just been waiting to start posting fun spooky recipes. I’ll have more all week (taffy tongues are up next). But I wanted to start with this recipe that’s easy to pull together fast. AND kids can help you with every step.
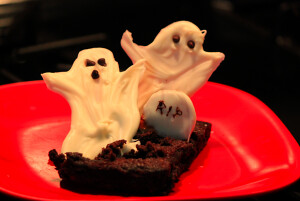
Here’s how to create this 3-D Halloween scene:
What you’ll need
1 pan family-sized brownies (boxed varieties are fine)
1 cup white melting chocolate
Handful of mini-chocolate chips or raisins (yup, ghost eyes)
1/8 cup melted semi-sweet chocolate chips
4 toothpicks
Oval crackers (Flipz work well)
Putting the brownies together
Line a 9×13” baking pan with waxed or parchment paper and then lightly coat it with cooking spray.
Bake the brownie mix according to package directions.
Allow the brownies to cool and then cut them into six to eight rectangular pieces.
Refrigerate the sliced brownies for at least 1 hour (or put them in the freezer for 20 minutes).
Meanwhile, melt the white chocolate in a glass bowl in the microwave for 2 minutes on high power. Stir, and then keep heating in 30-second intervals until it becomes smooth.
Let the chocolate cool slightly and create ghost shapes using the back of a spoon on waxed paper (so FUN). Add eyes before the chocolate sets.
Allow the chocolate ghosts to cool completely and then carefully remove.
Dip one end of the crackers into the white chocolate, then cool. Using the tip of a toothpick and melted semi-sweet chocolate write ‘RIP’ on the mini-tombstones.
Working with one brownie at a time, flip it over and then use a fork to create crumbs on top (the soil of your ghostly graveyard).
Carefully press the ghosts into the brownie along with the cracker to create your spooky scene.
Happy Halloween baking everyone!
This article was originally published on MyKidsEatSquid, and republished with permission
-

- Log in to post comments
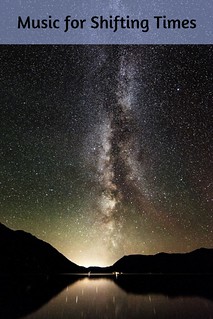
Music for Shifting Times
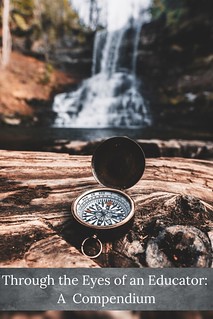
Through the Eyes of an Educator: A Compendium
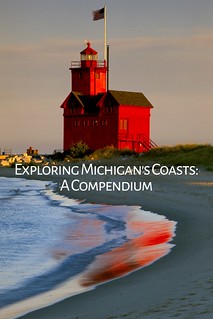
Exploring Michigan's Coasts: A Compendium
Generation Study Abroad Commitment Partner

I'm a White House Travel Blogger

Wandering Educators Youth Travel Blogging Mentorship Program
Travel with Awe and Wonder: A Compendium

 |
 |
 |
 |
 |
 |
 |
 |
 |