Patagonia.
Torres del Paine.
Solo travel.
Heaven.
10 Tips - and some great photos to inspire.
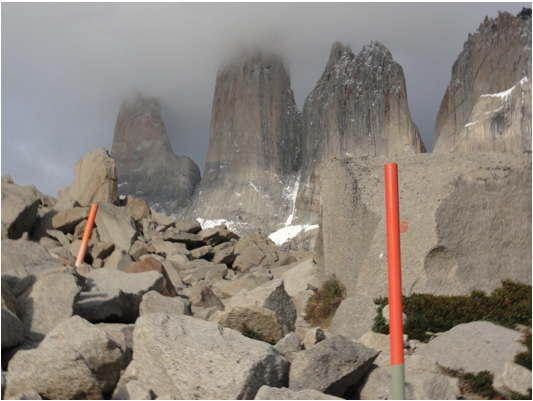
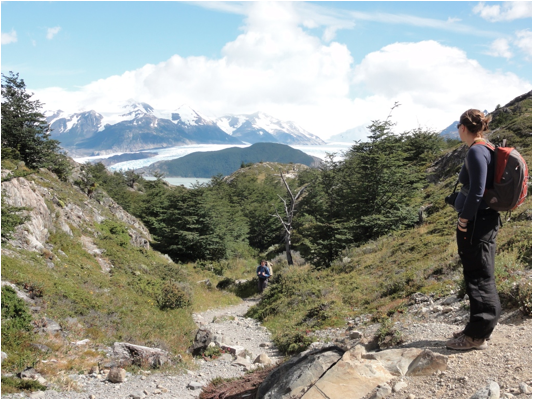
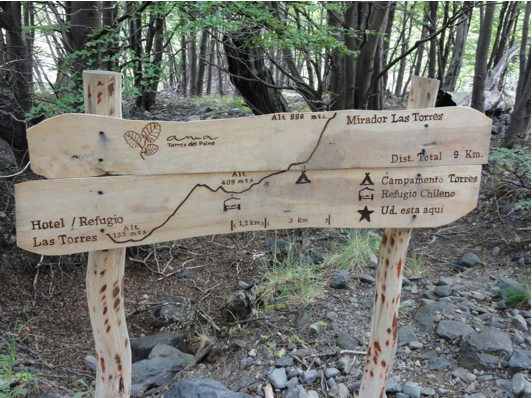
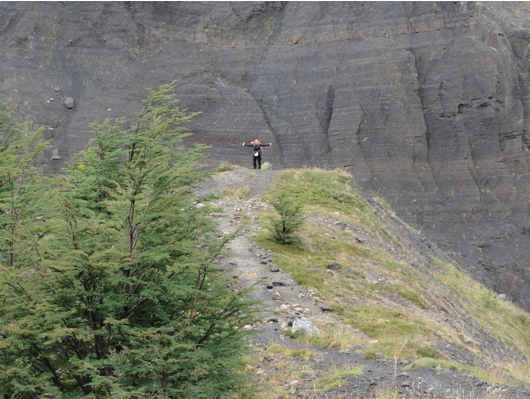
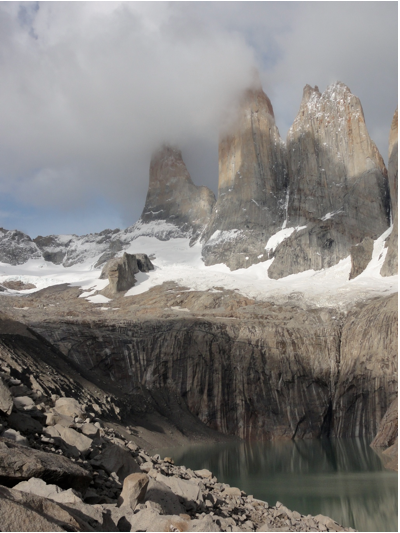
The Towers is the grand prize of hiking Torres del Paine. The trail is a little rocky towards the top.
- Take the Navimag. Despite the fact that the ferry I was on hit an island, I can’t recommend the Navimag Ferry enough. It was a beautiful trip and, over four days, it seemed that every solo traveler found a partner to hike Torres del Paine with.
- Check the weather. The big prize is the towers so you want to plan your trek in hopes of seeing them on a clear day, not through clouds as is so often the case.
- Plan your hike. Decide how you want to experience the park. Basically, you have a choice of:
- The Full Circuit
- The full W
- Parts of the W
- A bus tour (no hiking)
- The ferry to the Grey Glacier (no hiking).
- Take cash. Almost everything in the park is cash only so, unless you plan to hike every step of the way, carry your food and camp, you’ll need money. I hiked the two sides of the W and camped. I took 70,000 pesos ($140) and just made it out of the park. Here’s how I quickly used that money:
- Free – I got a ride to the Towers hike.
- Free – camping that night.
- 15,000 – park entry.
- 5,000 – shuttle from Towers trail back to main road.
- 5,000 – bus to Pehoe ferry.
- 11,000 – Pehoe ferry to Grand Paine refugio and camping.
- 4,500 – Camping at Grand Paine.
- 2,000 – Pisco Sours.
- 10,000 – a meal at the Grand Paine refugio. We thought we wanted real food after nuts and fruit but actually it was wasted money as we couldn’t eat it.
- 11,000 – when we took the Pehoe Ferry we thought we would return via the Grey Glacier ferry but that was too expensive. We could have saved 3,000 pesos by buying a return ticket if we had known we would return that way.
- 5,000 – bus back to Puerto Natales.
- Rent or bring hiking poles. Even young people use poles. They won’t only make the trek easier if you’re not a regular hiker, it will save your knees for later in life if you’re an avid hiker. I couldn’t believe how great they were.
- Plan your accommodation. I rented camping equipment from Erratic Rock I. Once you have your equipment, there is no need for reservations. If you don’t want to camp, you can stay in a Refugio, though I would make reservations in advance to ensure that you have a bed. If you really want luxury there is the Las Torres Hotel.
- What/where to eat. At the Refugios, you have the option of full board meaning that, in addition to giving you your breakfast and dinner, they’ll pack you a lunch for your day hiking. Anyone can go to a Refugio and buy a meal. At the Grand Paine campground there was a kitchen building with stoves and sink. At the campground near the Torres (and I’m assuming for most of the circuit) there were no restaurants or cooking facilities at all.
- Transportation from Puerta Natales to Torres del Paine. There are buses into the park every day at 7:30 and 2:30. It takes a couple of hours to get to the park.
- What to pack. When you’re hiking, you need to keep what you’re carrying to a minimum. Scale down your luggage and, if necessary, leave a bag at a hostel before you go to the park. For four days I wore/carried:
- 2 t-shirts
- 2 long sleeve shirts
- 2 pairs of pants
- rain gear
- two pairs of high quality hiking socks, underwear
- toiletries…
- camera, sunglasses, passport…
- nuts, dried fruit, etc.
- The option of flying. If you don’t have the time to take the Navimag Ferry, you can fly to Puerto Natales or Punta Arena. Before leaving on this trip I knew that I would have to fly back to Santiago due lack of time. When I priced it via LAN it looked like it would cost about $500. When there, I learned about SKY Airlines and booked for $178 all in.
Janice Waugh publishes Solo Traveler

